
Having a bathroom vanity without drawers is kind of like having a car without seats -- you can't really use it. While intimidation keeps many homeowners from trying to build the drawers themselves, it's not really as hard as it looks. Even the novice do-it-yourselfer can accomplish the task with a little attention to detail. A drawer, after all, is little more than a specialized box lacking a cover. Simple drawers often square the edges of the box in what is known as a "box" or "butt" joint. A higher-quality joint -- the rabbet -- involves cutting the edges just a little differently.
Instructions
- 1
Measure the drawer opening, both height and width. Find the depth of the cabinet to determine the maximum depth of the drawer. While vanity sizes vary tremendously, a drawer opening might be 6 inches high, 15 inches wide and 15 inches deep, for instance.
2Reduce the measurements to ensure a drawer with adequate clearance within the vanity. Subtract 1 inch from both the width and height. Take at least 2 inches from the depth. A 6-by-15-by-15 drawer thus becomes 5 inches high, 14 inches wide and 13 inches deep.
3Measure and mark the length (the drawer depth) of the drawer side needed on a sheet of 5/8-inch-thick plywood. Draw an intersecting line to reflect the drawer height required.
4Repeat measurements for the opposite side of the drawer. Use a square to make straight lines and mark each dimension in a couple spots, several inches apart, to ensure your lines -- and subsequent cuts -- are square. For example, each of the two drawer sides would measure 13 inches long and 5 inches high in the example given.
5Cut out both sides. Hold the drawer sides up together to ensure they are precisely alike. Adjust as needed. Mark both with a lightly penciled "S" to label.
6Measure and mark two more boards, which will form the front and back of the drawer, on additional 5/8-inch plywood. Make each 14 inches long (the drawer width) by 5 inches high for the given example.
7Cut out the front and back pieces. Label with an "F" or a "B" to distinguish them from the sides.
8Make the drawer bottom from 1/4-inch-thick plywood. Measure and cut to 14 inches in width and 13 inches in length.
9Create a kerf cut running horizontally 3/8 inches above the bottom edge of the drawer front, back and both sides. Set a table saw blade to emerge 1/4 inch above the table saw surface to control the depth of the cut. Adjust the saw guide to measure 3/8 of an inch from the saw blade, which determines the distance the cut penetrates from the board bottom. Pass each board through the saw to create the first pass of the kerf cut.
10Move the saw guide over to 5/8 of an inch from the saw blade. Pass each board through the saw again. Use a chisel or hammer and screwdriver to dig the wood out between the two cuts. You are left with a kerf cut -- a shallow cut exactly 1/4 inch thick. This allows the drawer bottom to set into the drawer panels, increasing the strength of the drawer.
11Create rabbet cuts -- L-shaped joints -- on both ends of both drawer sides. Set the table saw guide to 1/4 inch away from the blade. Leave the blade set at 1/4 inch of depth. Hold the board on end and pass each end of each side through the saw, making a cut 1/4 inch into the board's thickness.
12
Flip the board over so it lies flat and swipe through the saw again. When the cuts meet in the middle of the board the box-shaped chunk detaches. You are left with boards that are only about half the thickness along the ends, vertically. This L-shaped end allows the front and back boards to lie inside the side board, creating more surface area to glue together during construction and thus a stronger joint.
13Glue one edge of the plywood drawer and insert it into the kerf cut of a side board. Hold it in place for a minute to ensure it bonds. Proceed to the next edge of the bottom, spreading glue along the edge and inserting into either the front or back panel. Lay a generous bead of glue into the rabbet joint as you join the front, sides and back. When complete, the bottom board is sandwiched between and glued to the drawer boards, which are glued together in the rabbet joints as well.
14Cut a drawer front from 3/4-inch plywood. Make it 1 1/2 inches higher and wider than the drawer itself. Given the drawer in the previous examples, for instance, the drawer front needs to be 15 1/2 inches wide and 6 1/2 inches high. This board mounts to the drawer and covers the entire drawer opening when slid into place.
15Sand the drawer front edges smooth. Apply glue generously and press the front to the drawer front board. Reinforce with 1 1/4-inch long wood screws, driven from the inner panel into the outer front board. Make sure the screws do not penetrate the drawer front completely.
16Mount the drawer slides and a handle. Stain the outside of the drawer as desired and insert into the vanity for use.
CabinetCRUNCHER Cabinet Building Design Cutlist Software
cabinetcruncher.comCabinet Building Software for Professional Cabinetmakers and Woodworking Enthusiasts of All Experience Levels!
How to Make a Doll Piano and Vanity : Easy - YouTube
www.youtube.com/watch?v=vCTg5UK6yqcby request: this is super easy and fast, and you can make it what ever size you like by using different sized paper... try poster board for big dolls ...
Welcome to How to Draw Manga Manga University
www.howtodrawmanga.comThe Official How to Draw Manga / Manga University website, with free tutorials, manga, videos, an online store and mailing list.
how to make doll vanity - YouTube
www.youtube.com/watch?v=RJID5B_i24Iit is so easy. you can do request in comment box and this is also requested by someone plz rate, comment and subscribe
How To Build projects, 100's of Free and Fee Woodworking Plans
www.binkyswoodworking.comFree and Fee woodworking plans, How to pages for many projects. Ideas, and tips for woodworkers of all skill levels. Huge resource of wood working plans and services ...
Brad Pitts Battle to Make World War Z: Inside the Drama, Re ...
www.vanityfair.com/hollywood/2013/06/brad-pitt-world-war-z-dramaIn World War Z, Brad Pitts first attempt to build himself an action franchise, he would try to save the world from zombie domination. But amid delays, on-set drama ...
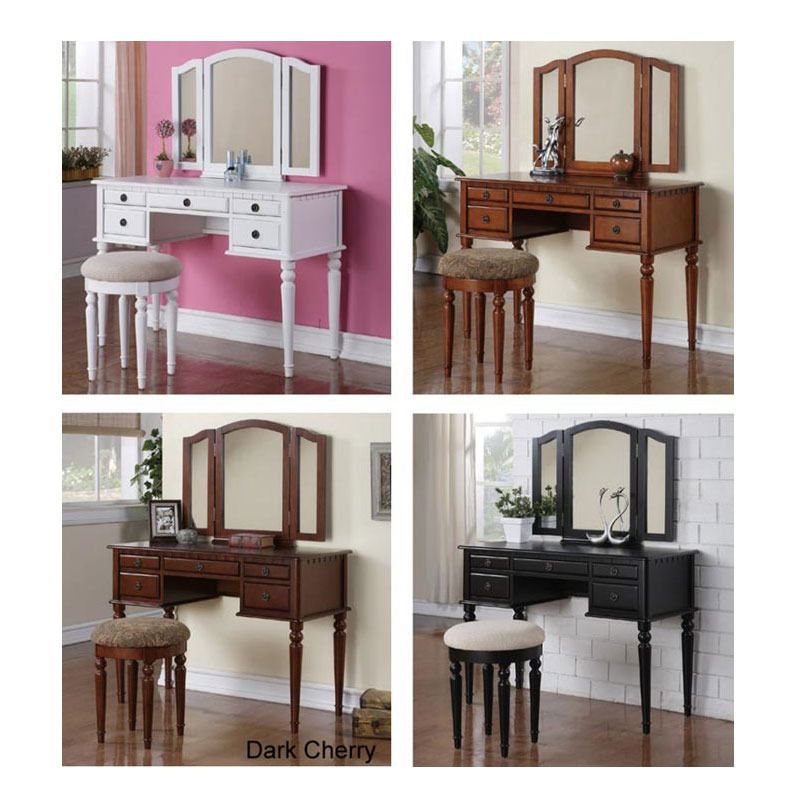
Tri Folding Mirror Cherry Wood Vanity Set Make Up Table with
www.ebay.com Furniture Vanities & Makeup Tables$239.99 In stockFeatures: Five-drawers A tri-folding mirror Transitional style Variety of wood finished colors Upholstered cushioned seat Vanity set, Dresser w/ bench
Project: How-To at The Home Depot - Home Improvement Made
www.homedepot.com/webapp/catalog/servlet/ContentView?pn=project_how_toHelpful guides, videos and advice for all your do-it-yourself projects
eHow How to Videos, Articles & More - Discover the expert in you.
www.ehow.comHow TOs Computers eHow Home CarsLearn how to do just about everything at eHow. Find expert advice along with How To videos and articles, including instructions on how to make, cook, grow, or do ...
Project: How-To at The Home Depot - Home Improvement Made
www.homedepot.com/webapp/catalog/servlet/ContentView?pn=project_how_toHelpful guides, videos and advice for all your do-it-yourself projects
The Olde Farmhouse on Windmill Hill: Bathroom Update 4 - Vanity ...
oldewindmillfarm.blogspot.com/2013/04/bathroom-update-4-vanity...72 posts By The Olde Farmhouse on Windmill Hill Published Apr 01, 2013Apr 01, 2013 Once upon a time there was a stately ice box residing in a general store. It was proud of it's prestigious position and proudly kept milk and cheese cold ...
Vanity - Halo Reach Player Image Generator - Veegie.com
veegie.com/VanityVanity is a player image generator for Bungie's video game Halo Reach
Vanity Define Vanity at Dictionary.com
dictionary.reference.com/browse/vanityDesigner Make up vanity www.onekingslane.com/Vanities Up To 70% Off On Make up vanity Sign Up For Free Today & Shop Now!
Drawer Dividers - Cabinet Organizers - Cabinets & Cabinet
www.homedepot.com Cabinet Organizers Drawer DividersTell us about your search experience. Your comments will help make our site better.
About.com Quilting - Quilting: How-To Quilt Articles, Quilting ...
quilting.about.comFree Quilt Patterns Quilting for Beginners How to Make a QuiltQuilting how-to articles and hundreds of quilt patterns show you how to make quilts. There's always something new on the Quilting site.


0 komentar:
Posting Komentar