
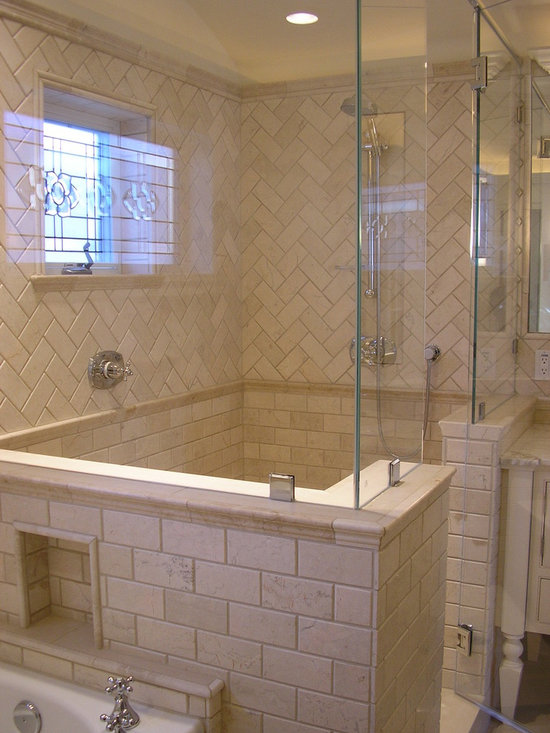
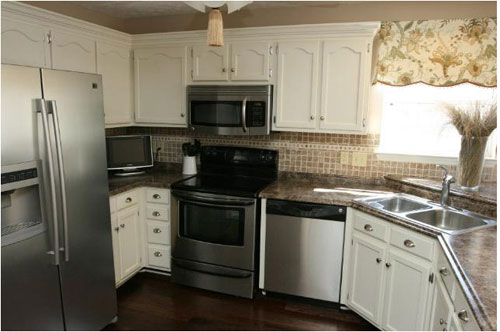
Bathroom cabinets are subject not only to wear from repeated use, but also from high humidity levels inherently found in bathrooms, particularly if the shower or bathtub is frequently used. As a result, the surface of the cabinets can show wear over time. Although replacing the cabinets is one option, new cabinets are often expensive and may be challenging to install. As an alternative, you can resurface the existing cabinets with new veneer for a fraction of the cost, and doing so is a comparatively straightforward job.
Instructions
- 1
Remove the screws that secure the hinges to the doors by turning the screws in a counterclockwise direction with a screwdriver to release the doors, then remove the screws that secure the hinges to the cabinet frame to free the hinges.
2Remove the door handles from the doors by removing the screw from the back of each handle with a screwdriver.
3Sand the surface of the exterior of the cabinet frame and the doors with 150-grit sandpaper to scuff the surfaces. Scrape away any loose or frayed pieces of the existing veneer with a putty knife. Although it is not necessary to remove the old veneer from the cabinets, it is important to provide the new veneer with a smooth surface to adhere to.
4Wipe down the exterior surface of the cabinet frame and each door with a sponge and clean water -- allow the components to dry.
5Measure the height and width of the cabinet frame and doors with a tape measure, as well as the location of each hinge screw hole in relation to the cabinet frame and doors.
6Lay the new veneer pieces on a flat surface and transfer the measured distances to the pieces with a marker. Add one-quarter inch to each height and width measurement to allow for trimming later.
7Cut through the new veneer pieces with a sharp utility knife. Use a straightedge as a guide.
8Apply the new veneer to the sides of the cabinets. Peel the backing off the top of the veneer to expose the adhesive and press the top of the veneer onto the cabinets. Slowly continue peeling the backing away while simultaneously pressing the veneer into place. Bond the veneer to the cabinet frame by rolling the entire veneer surface with a wall-covering roller. Trim the excess veneer with the utility knife.
9Apply the new veneer to the vertical frame rails on the front of the cabinet using the same method as when applying the veneer to the sides of the cabinets. Apply the horizontal frame pieces after installing all vertical pieces. Trim the excess material away from the new pieces.
10Apply the new veneer to the cabinet doors in the same manner used to install the other pieces and trim away the excess material.
11Transfer the measurements found for the hinge screw holes to the vertical veneer pieces and to the cabinet doors with a marker. Drill a small hole through the marks to pierce the veneer.
12Position the hinges onto the doors and tighten the hinge screws through the hinges and into the doors.
13Position the doors against the cabinets, ensuring that the hinges align with the screw holes on the cabinet frame, then tighten the hinge screws through the hinges and into the frame.
How to Resurface Kitchen Cabinets - EzineArticles.com
ezinearticles.com Home Improvement CabinetsJan 27, 2009 There are many answers to the question about how to resurface kitchen cabinets. I have written numerous articles on this subject and have shared differing ...
How to Refinish Kitchen or Bathroom Cabinets Suite101
suite101.com Home & Style Home Renovation/RepairMar 25, 2013 Refinished kitchen or bathroom cabinets are a value project when marketing a home. According to realtors, richly stained or painted cabinets can help
Kitchen Cabinet Resurfacing: How to Apply an Antique Finish to ...
voices.yahoo.com/kitchen-cabinet-resurfacing-apply-antique-221798.htmlMar 03, 2007 Kitchen Cabinet Resurfacing: How to Apply an Antique Finish to Your Kitchen Cabinets Antique Paint Process for a Laminate or Wood Kitchen Cabinets
How to Inexpensively Redo Your Kitchen Cabinets - Yahoo!
voices.yahoo.com/how-inexpensively-redo-kitchen-cabinets-3263000.htmlMay 06, 2009 You can redo your kitchen cabinets all by yourself without spending a lot of money, here's how:
How to Repair Cracks and Resurface a Concrete Driveway
www.todayshomeowner.com/video/how-to-repair-cracks-in-concreteWatch this video to find out how to repair cracks in concrete and how to resurface a concrete driveway.
Bathroom Project How-Tos: Bathroom Remodeling Ideas and Bathroom ...
www.diynetwork.com/bathroom-how-to/packageGet Bathroom Remodeling Ideas, Projects, and Bathroom Design Tips at DIY Network.
How to Resurface Countertops eHow
www.ehow.com Home Repair & Maintenance Interior Home RepairHow to Resurface Countertops. Resurfacing countertops is the new cost saving trend when it comes to updating kitchens. The countertop is the main focal point in any ...
Bathroom & Kitchen Remodeling Denver Granite Countertops ...
www.dunritekitchens.comDun-Rite installs custom granite countertops Denver home owners love. Whether it's resurfacing cabinets, bathroom remodeling or kitchen remodeling Denver folks call ...
How to Redo Trailer Cabinets eHow
www.ehow.com Home Repair & Maintenance Interior Home RepairHow to Redo Trailer Cabinets. Repairing and refinishing cabinets in your mobile home is one of the quickest and most satisfying projects to freshen the appearance of ...
How to Paint Kitchen Cabinets This Old House
www.thisoldhouse.com/toh/how-to/intro/0,,20209705,00.htmlA makeover doesn't necessarily mean replacing those gloomy cabinets. You can clean them up and brush on some new paintand within a weekend take that kitchen from ...


Thanks for sharing the useful information. It was really amazing and very informative. Keep sharing
BalasHapusKitchen & Bath
Design A Kitchen Remodel
Country Kitchen Cabinets
Bathroom Remodel
Flooring Installation